1280×1024 / 12 µm
Finer information about outlines, limbs and terrain than lower-resolution sensor classes can provide.
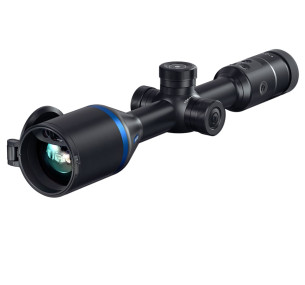
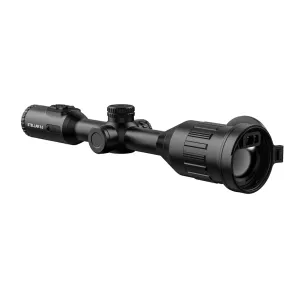
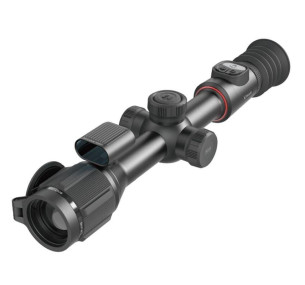
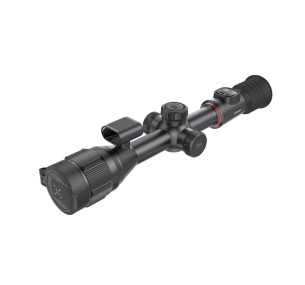
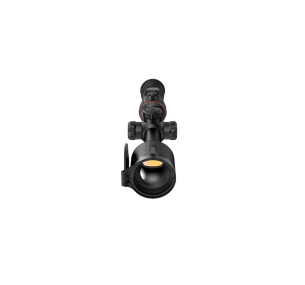
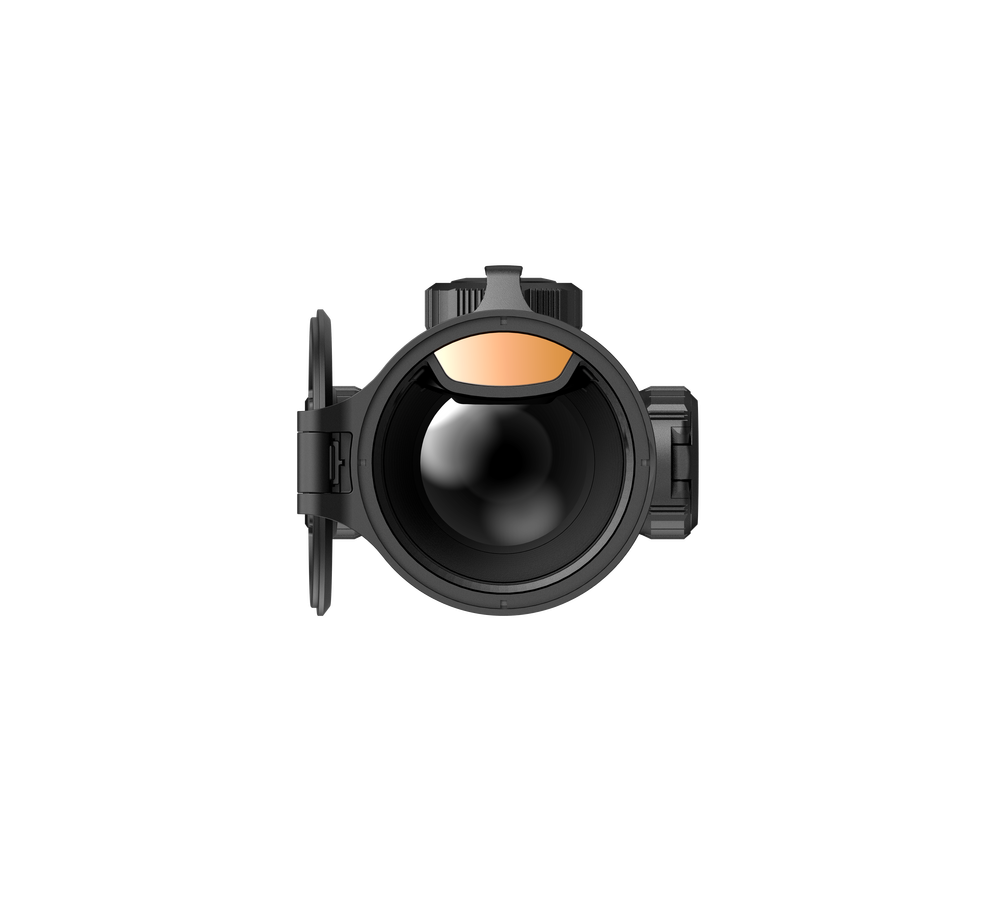
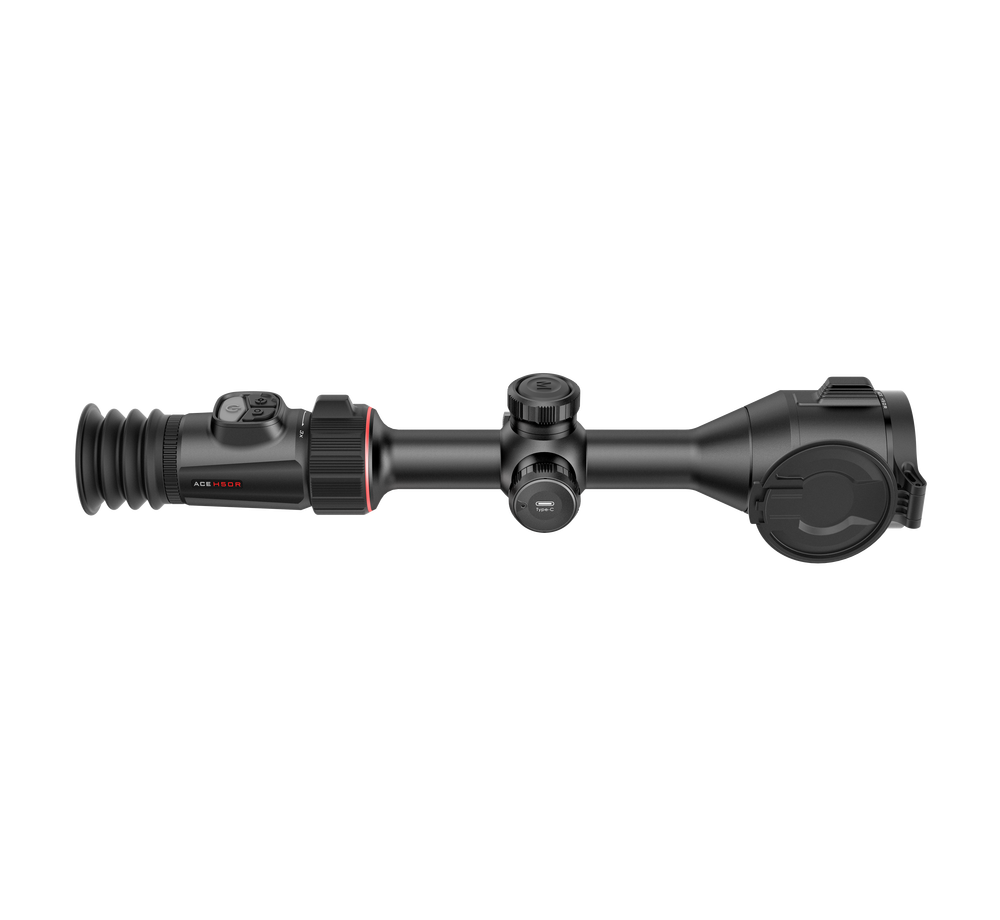
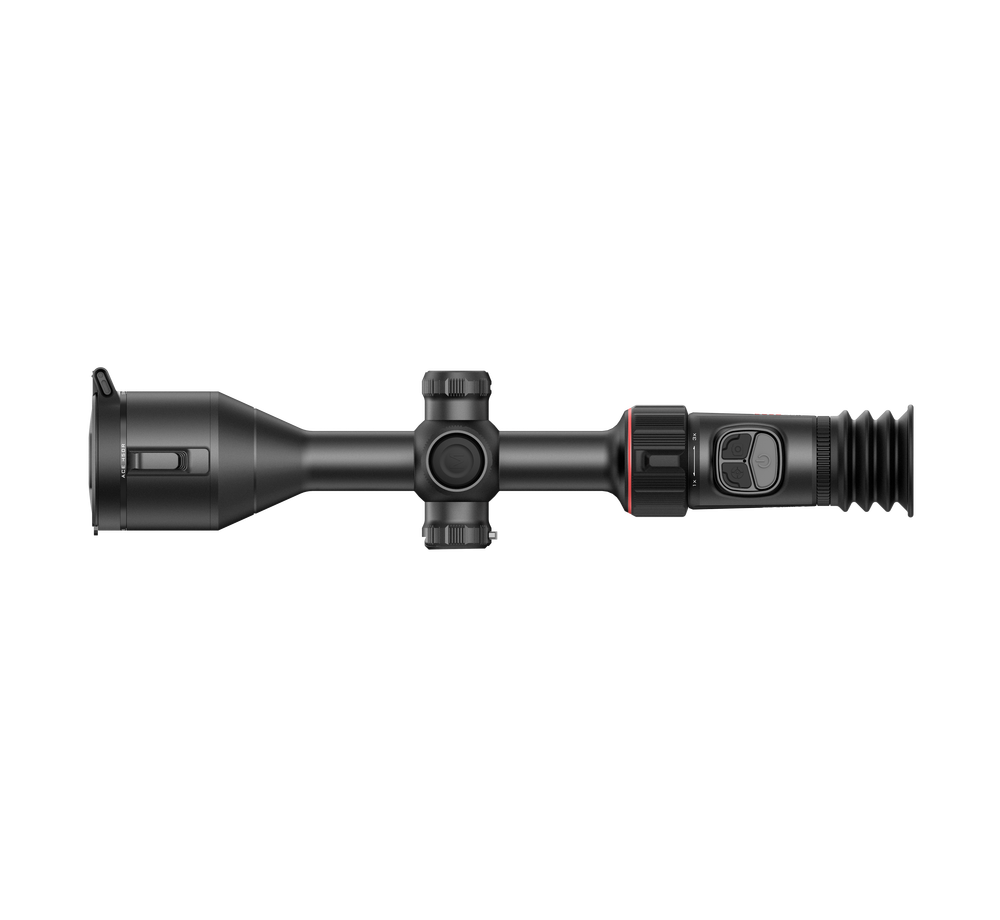
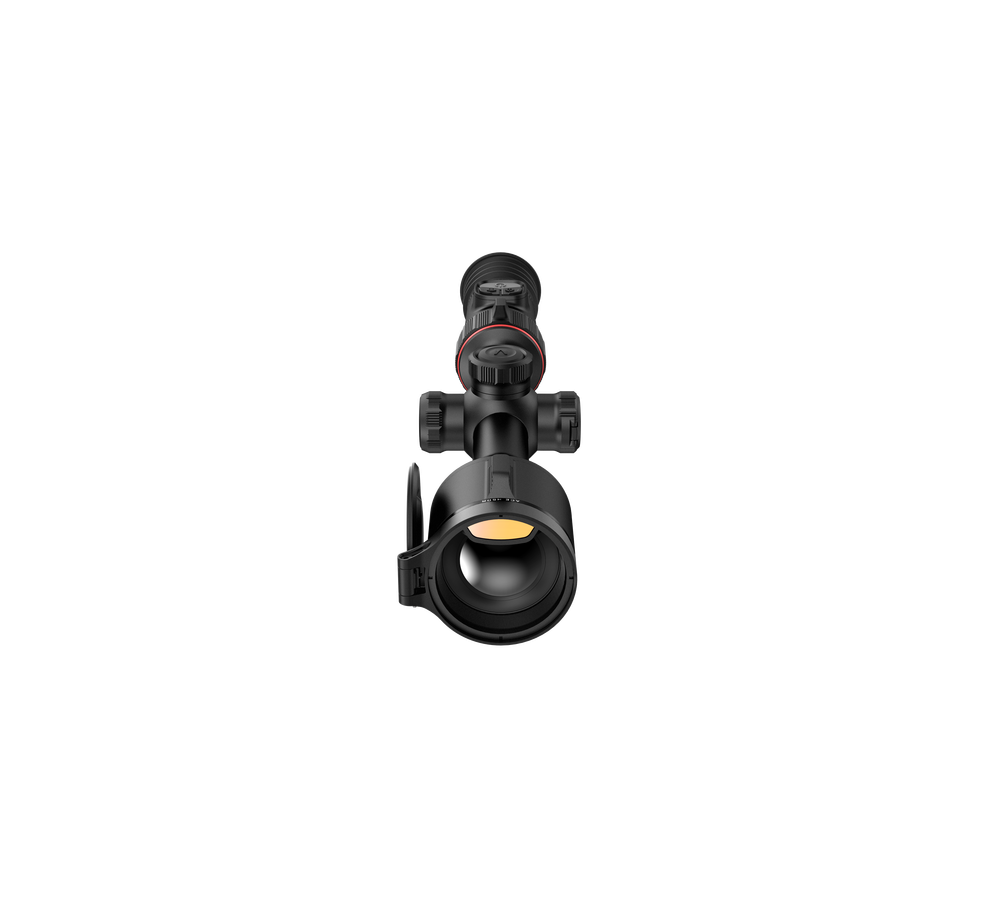
A premium thermal riflescope with a 12 µm VOx sensor, ≤15 mK sensitivity, 60 mm F1.0 objective lens, integrated 1200 m laser rangefinder, ballistic calculator and round 2560×2560 AMOLED display. Built for users who need more useful scene information, more confident identification and consistent performance against difficult thermal backgrounds.
This product page covers the Nocpix ACE S60R from the conventional ACE series. Its body uses a classic 30 mm mounting tube, allowing suitable rings to be selected for the rail, required height and individual firearm. The ACE S60R RM is a separate configuration with a different mounting interface.
A 1280×1024 sensor contains approximately four times as many pixels as a conventional 640×512 sensor. Weather, focus and settings still matter, but the additional spatial resolution becomes especially valuable when digital magnification or Picture-in-Picture is used.
Finer information about outlines, limbs and terrain than lower-resolution sensor classes can provide.
The detector can separate small temperature differences and retain detail when target and background temperatures are close.
Smooth motion and tracking. The exact S60R specification is 50 Hz, rather than the series-wide statement of “up to 60 Hz”.
The algorithm reduces thermal noise and improves local contrast, while correct manual focus remains essential.
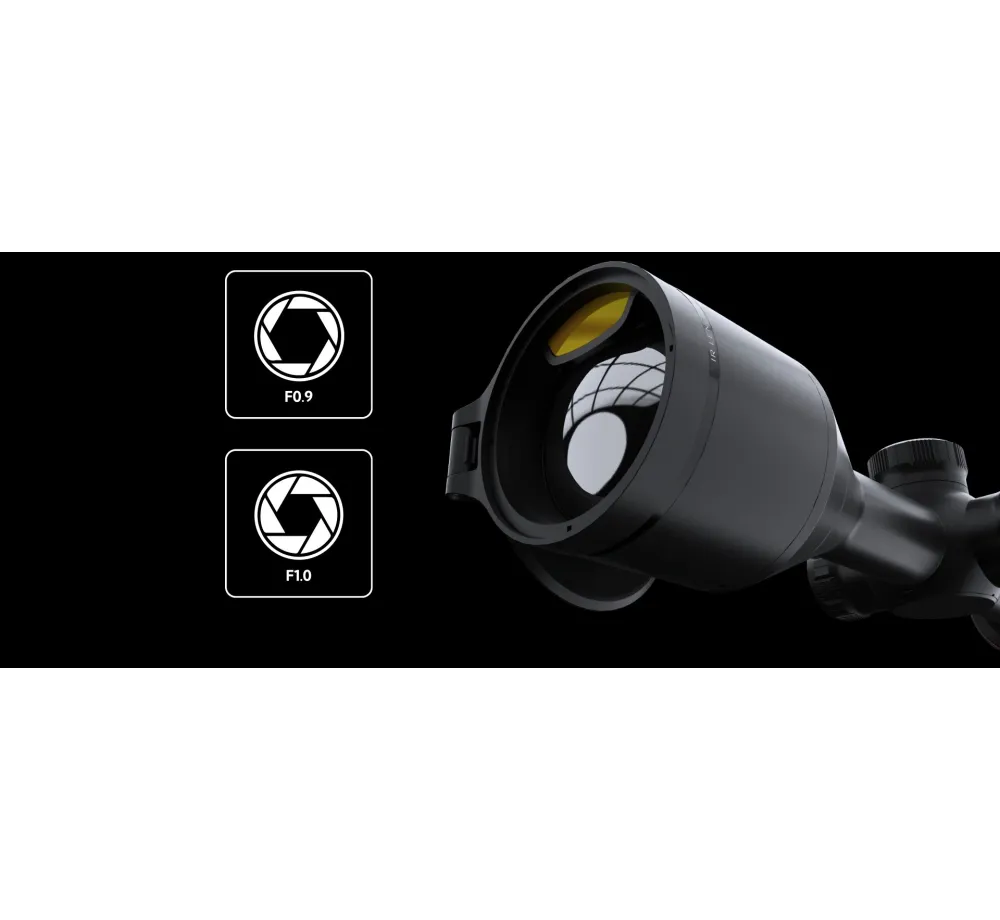
The large 60 mm F1.0 objective transfers a substantial amount of infrared energy to the detector. On the ACE S60R it is combined with a 14.7° × 11.7° field of view, equal to approximately 25.6 × 20.5 m at 100 m. The result balances serious long-range detection capability with enough scene width to find and follow an object.
Vision+ combines a high-resolution round AMOLED screen with 1×–3× ocular zoom. Ocular zoom optically magnifies the display and is not the same as digitally enlarging the thermal image. Its current value is not shown as a number on the screen.
Adjust the dioptre until icons and the reticle are sharp. Then focus the observed object with the front focus ring.
Nocpix specifies 50 mm eye relief and an 8 mm exit pupil. Mounting should provide a natural and repeatable head position.
Use ocular zoom to refine viewing comfort; apply electronic magnification only as far as the task genuinely requires.
A short press of the Rangefinder button performs one measurement and displays the distance in the upper-right area of the screen.
A long press activates continuous measurement. Another long press or the Power button exits continuous ranging.
The manufacturer specifies a Class 1 LRF, a maximum range of 1200 m and claimed accuracy of ±1 m. Actual results depend on the target’s size, shape, colour and reflectivity, the beam angle, sunlight, fog, rain and snow. A small, dark or steeply angled object is more difficult to range than a large, bright surface.
ACE S60R supports five ballistic profiles, MOA or mil units and several Suggested Point of Aim markers. Profile names and supported parameters can also be edited through NOCPIX APP. The exact set of fields may vary with the installed firmware version.
Select profile 1–5 for one specific firearm, ammunition and mounting combination. Do not mix data from different setups.
Use verified muzzle velocity, ballistic coefficient and setup geometry. Whenever possible, measure velocity with a chronograph.
Temperature and the other available atmospheric fields influence the calculation. Enter current values and confirm every unit.
Use the system you understand and apply consistently. Do not combine MOA and mil values taken from unrelated sources.
Select a Suggested Point of Aim marker or the option that moves the original reticle to the calculated aiming point.
Once ballistics are enabled, a single LRF measurement presents the recommended correction from the stored data.
Confirm impact at an authorised range with a reliable backstop. Adjust the profile only from measured results.
The solution depends on correct zeroing, valid LRF data and accurate parameters. It cannot automatically account for every real-world variable and does not replace positive target identification, a safe backstop, applicable law or practical verification of the complete setup.
Zero only at an authorised range, from a stable position, with a safe backstop and full compliance with all firearm-safety rules. If you are not qualified to mount and zero a riflescope, use a competent gunsmith or instructor.
Confirm that the 30 mm rings, base and fasteners are compatible and tightened to the specifications of their manufacturers.
Under Reticle → Zeroing Profile choose one of profiles A–G and set the required distance from 1 to 999 m.
Place the supplied heated zeroing target, or another reliably visible thermal target, at an accurately measured distance.
Adjust dioptre, objective focus and calibration until the target and interface are clearly resolved.
From a stable position, fire one carefully executed shot. Make the firearm safe before inspecting the point of impact.
In the selected zero-distance menu, keep the reticle on the original aiming point and activate Image Freeze.
Select the X or Y axis with Menu and use the controller to move the reticle to the actual impact. The red cursor retains the original position.
Hold Menu to save, fire a confirmation group and repeat the adjustment only if required.
Profiles A–G can be named through the app. Keep a separate profile for every firearm, load or materially different setup. The shortcut menu can switch only between distances that have already been zeroed.
The official manual provides 10 levels of brightness, contrast and sharpness and recommends level 5 as the initial setting for each. This is a balanced baseline, not a universal prescription. Adjust for weather, background, distance and eye fatigue.
Increase only until dark detail is readable. Excessive brightness causes fatigue and may hide subtle temperature differences.
Higher contrast can emphasise the target, but an extreme setting may remove useful intermediate temperature levels.
Moderate sharpness preserves clean edges. Excessive sharpening can exaggerate noise and create artificial outlines.
The default mode provides stronger contrast, clearer scene hierarchy and more obvious targets.
A softer presentation designed to reduce visual fatigue during prolonged observation.
Nocpix recommends Ultra Clear for cloudy and rainy conditions. It can improve readability when thermal contrast is weak, but correct focus and timely calibration remain essential.
A universal mode with intuitive presentation and strong control of scene detail.
Often comfortable for prolonged observation and reading complete silhouettes.
Highlights the hottest areas and can speed up initial detection.
Separates temperature levels with multiple colours for more analytical viewing.
An alternative colour rendering for specific backgrounds and viewing preferences.
A warm palette that may help separate active areas from the background.
A green palette that some users find less tiring during extended use.
Compare at least two modes on the same scene before deciding which one preserves the most useful detail.
The device calibrates through its internal shutter. A 5-second countdown appears before the cycle and can be cancelled with Power.
A short press of Power performs internal-shutter calibration without fitting the lens cap.
Fit the lens cap, press Power and wait approximately 2 seconds. Remove the cap when calibration is complete.
Calibrate if the image becomes uneven or shows vertical lines, ghost images or reduced contrast. Calibration equalises the detector background; it cannot compensate for incorrect focus or contaminated optical surfaces.
Files are organised by date. Connected through USB-C, the device appears as storage for copying and managing recorded content.
When enabled, the device retains footage from 5 seconds before and 3 minutes after recoil, preserving the context around the event.
The microphone can be enabled independently, while saved videos can be reviewed through the built-in Gallery without a phone.
A warning appears when less than 50 MB remains. Archive important files and clear unwanted recordings before the next outing.
When both are installed, the riflescope first draws from the replaceable 18650 and then from the internal battery. Two icons show their charge separately.
The USB-C port charges only the internal battery. The replaceable 18650 must be charged in the separate charger supplied with the standard package.
A protected body for dust, moisture and normal demanding field conditions.
The manufacturer specifies maximum recoil energy of 6000 J when the riflescope is correctly mounted.
Classic 30 mm mounting interface for suitable rings and the required installation height.
Operating range from –20°C to +50°C; cold temperatures naturally reduce available battery capacity.
Never point the objective or eyepiece directly at the sun, laser equipment or another intense heat source. The optics can act as a magnifying glass and damage internal components. Thermal imagers also do not view normally through glass; observe directly without a window in front of the objective.
These three videos complement the written manual. Review them before initial mounting and retain the current official manual for the installed firmware.
An overview of the flagship series, its optical system, Vision+ and primary functions.
A practical walkthrough of the controls, menus, image options and primary settings.
The official demonstration of zeroing and moving the reticle from the aiming point to the point of impact.
The dioptre is set, but the objective is not focused. Rotate the front focus ring for the observed distance.
Run calibration. If Background mode is selected, fit the cap when prompted.
Refocus, recalibrate and enable Ultra Clear. Low thermal contrast physically limits every thermal imaging system.
Check password, range and obstructions. Move away from congested Wi-Fi environments and connect only one mobile device.
Glass does not transmit long-wave infrared energy like visible light. Observe the target without glass in front of the objective.
Allow the device to acclimatise in a dry place. Do not rub abrasive particles; remove dust without contact before using an optical cloth.
This list follows the official ACE Series manual and regional variations may occur. Mounting rings are not included in the published list; the exact package should be confirmed when ordering.
Special 0% interest options for this product under the active campaign and the lender’s applicable terms.
Standard longer-term financing according to the selected programme, amount and individual credit approval.
Instalment purchase is a point-of-sale consumer loan and is not an automatic entitlement to financing. Approval, interest rate, APR, monthly payment, total amount payable and required documentation are determined individually by TBI Bank. The interest-free campaign may not be combined with another discount or promotion. Confirm the current offer before completing the order.